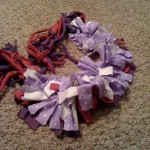
Disclaimer: I classify myself as a beginner. I don’t know the “proper” sewing terms. This post is picture intensive (click on thumbnail if you want to view the larger version). Note: I did not finish the ends of the flannel, so fraying is likely, but I kind of like that look. You could use pinking shears for extra texture and to help prevent fraying if you want a cleaner edge.
Materials:
- assorted polar fleece. I mostly used the inexpensive (less than $3/yard) weight.
- assorted flannel (again, about $3/yard)
- thread
- sewing machine
- good scissors
- cutting board
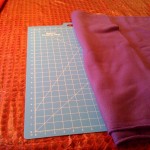
1. First off, I took out my cutting board, my good scissors (they’re like three days old — any bets on how long it’ll take for the monsters to confiscate them and use them to give the dog a haircut?), and cleaned off the kitchen table for serious work.
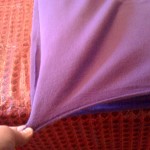
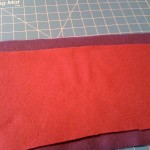
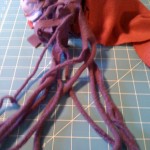
2. Figure out the nap of the material. I learned by trial and error that the fleece “gives” in one direction and doesn’t give or stretch in the other. The stretching makes awesome tassels on the ends of the scarf. See how stretchy it is? That stretch should run the length of your scarf.
3. Cut strips of coordinating material. Don’t be afraid to experiment! I mostly used strips of 6-8″ wide and today began experimenting with layers of varying widths. 3-4 layers of material make a nice scarf. I used 1-2 layers of fleece and 1-2 layers of flannel.
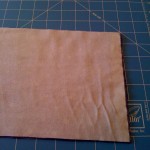
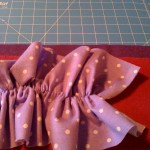
4. I ruffled the flannel to gain a little more texture. You need 2-3 times more length than what you want to end up with. You can cut the length of your material (2-3 yards) to get a long strip (the flannel nap/give didn’t seem to matter), or you can cut the width of your material and sew a few strips together. Since I can’t cut straight, I chose the latter. I cut 2 strips of flannel, and then laid them right sides together.
5. Sew the two strips together (the short sides). I used about 1/2″ seam allowance but it doesn’t really matter either way.
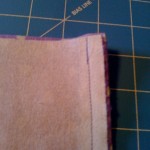
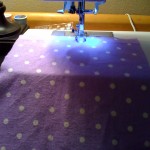
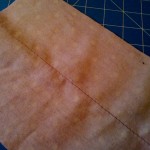
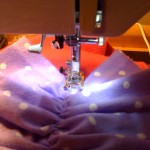
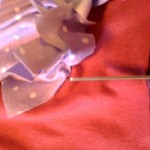
6. Unfold the two (or three) strips of flannel and begin to make the gathering stitch down the middle. Adjust your stitch length to the longest your machine can do (mine did 5) and dial your tension down very low (I used 1). Start in the middle of one end of the long strip, and simply sew all the way to the other end. Note: leave the threads at the ends very long and do NOT reverse over your stetch to “lock” it.
(just the back so you can see the long, loose thread)
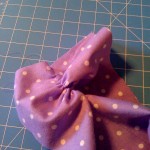
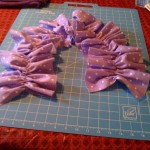
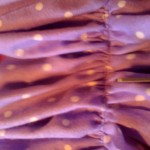
7. Take hold of the bottom thread at one end and begin tugging it to scrunch the material. Be careful – the thread can cut or “rope burn” your fingers. Gently gather the material evenly from both ends until you’re happy with the look. You want to end up with a ruffle that comfortably stretches across your shoulders. The final length is up to you.
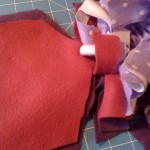
8. Assemble your layers of fleece and ruffled flannel. For this scarf, I’m using an 8″ wide strip of purple fleece, a 6″ wide strip of hot pink fleece, and then the ruffled flannel will be centered on top. Leave extra fleece (up to a foot or so will be fine) on each end for tassels.
9. Return to the sewing machine and manuever the layers of material beneath your sewing machine’s foot. (Return your stitch length and tension to standard/normal). Center your needle using the center ruffled line as a guide. You basically sew right over the top of that line (although you don’t have to be perfect). Be sure to reverse your stitching at each end to lock the stitches in place.
10. You’re done with the machine! Now you need good, sharp scissors. Sit down somewhere comfy (but keep your shirt out of the way. Oh, no, I would never cut my shirt. *sheepish) Begin cutting slits in each layer. I found it easier to cut slits in one whole layer and then repeat for the layer(s) beneath it, but do whatever makes sense to you. If you start with the bottom fleece layer, you can fold the upper layers out of your way. Warning: do NOT cut through your stitched line! That’s what holds everything together.
Cut slits as far down as your ruffle reaches. I chose to angle slits up toward the center line, leaving long pieces of fleece below for tasseling.
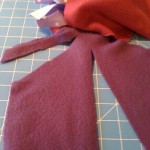
11. Now we need to cut vetical slits in only the fleece portions at each end. I played around with several different methods, and what ended up working best for me was to cut the fleece in the middle up toward the point/center ruffled line, and then simply divide the rest of each side into strips.
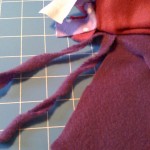
Then the fun begins. If you cut the fleece correctly, when you tug on each strip, it’ll curl and stretch into lovely tassels. I tied a knot in each end and snipped the extra bit off the ends.
12. Fluff the layers and enjoy your incredibly warm scarf!

