I mentioned a post or two ago that I was working on something creative to kind of get back in the swing of things. Raelyn talked about a cool planner here that I also ordered. Overall, I was happy with the scheduling and planning capabilities, but the general “beauty” of the planner was… utilitarian. Not gorgeous or inspiring.
But I was inspired by Lynn Viehl’s post about recycling a magazine into a journal. Why couldn’t I do something like that with this planner, plus make it a bit sturdier at the same time?
I just happened to have a lot of cool macabre fabric on hand. I selected the browns/creams with skulls and ravens. I also had a piece of cotton quilt batting left over from a few years ago when I made Christmas ornaments.
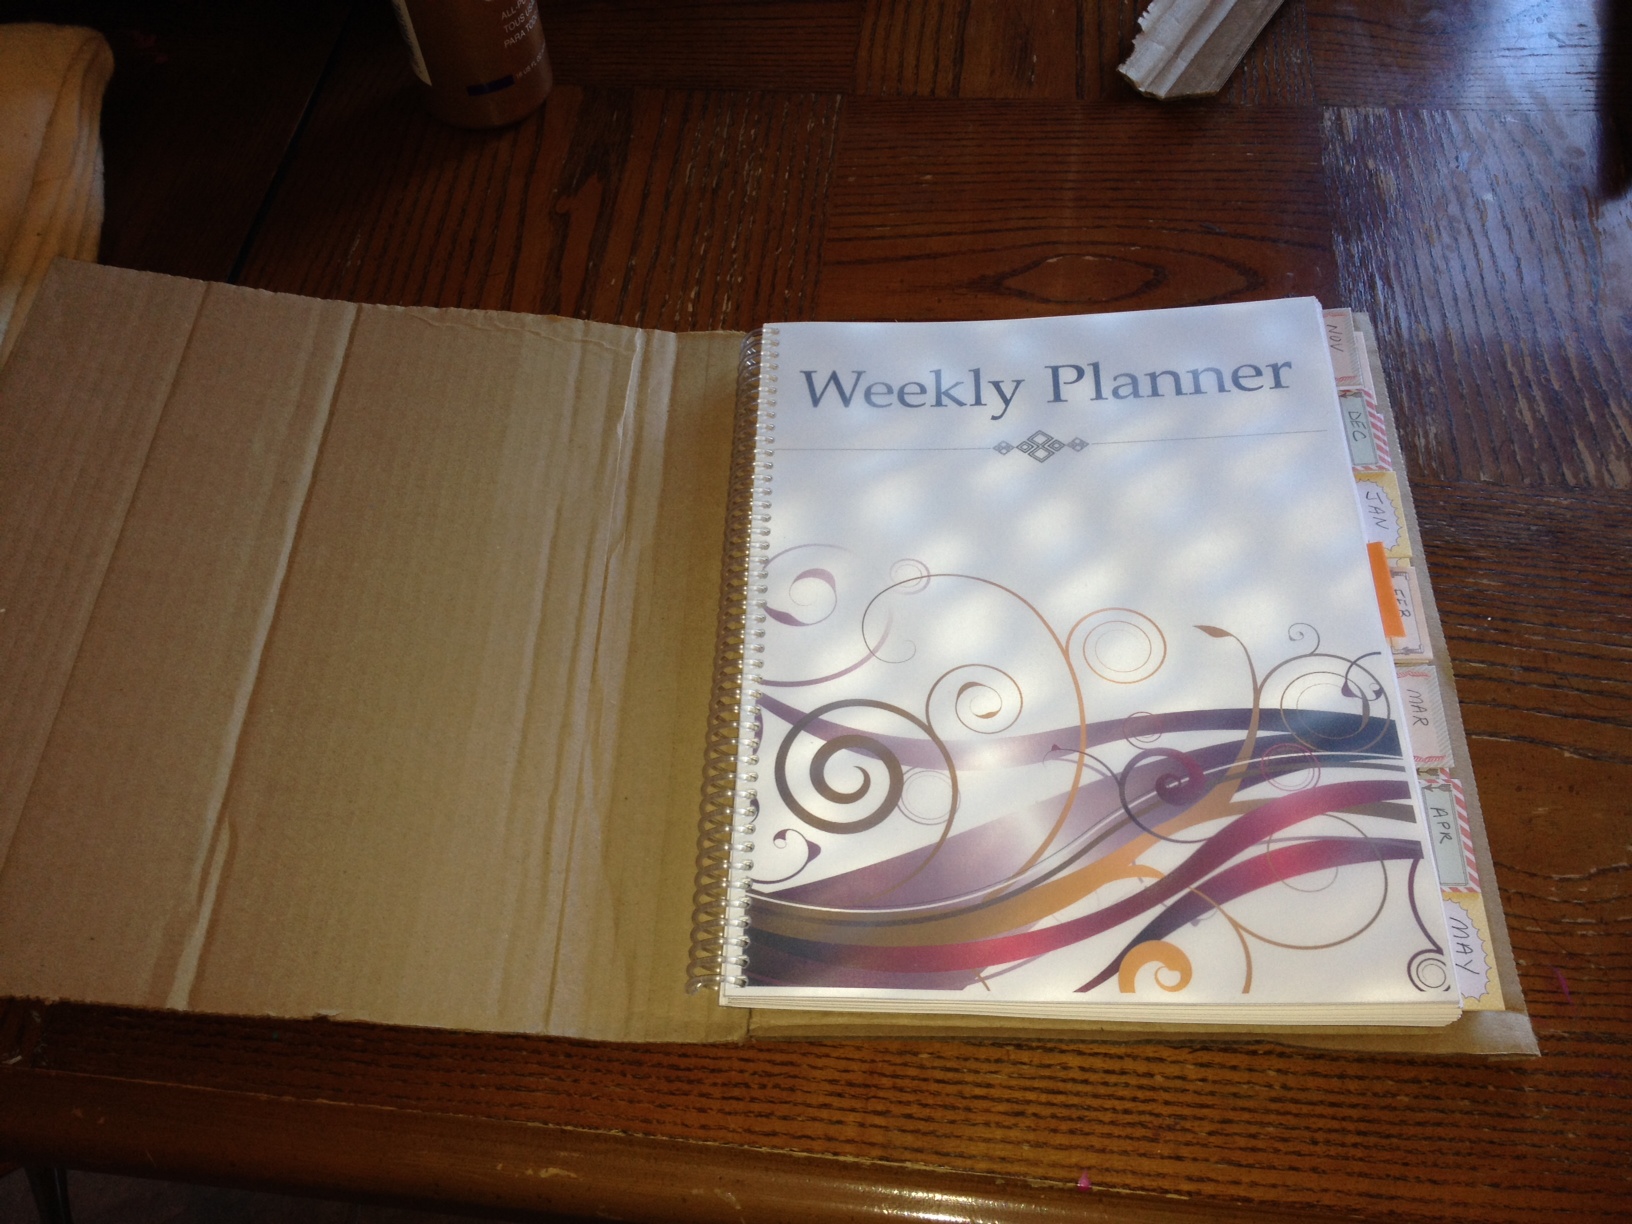 Of course, I had the cardboard “wrapper” box that the planner had been shipped in. I only had to trim it a little to make it work as a “binder”.
I can’t sew much at all, but this project was made easy with Aleene’s tacky glue. I wrapped the cardboard in cotton batting and then basically wrapped the whole thing in fabric like a present.
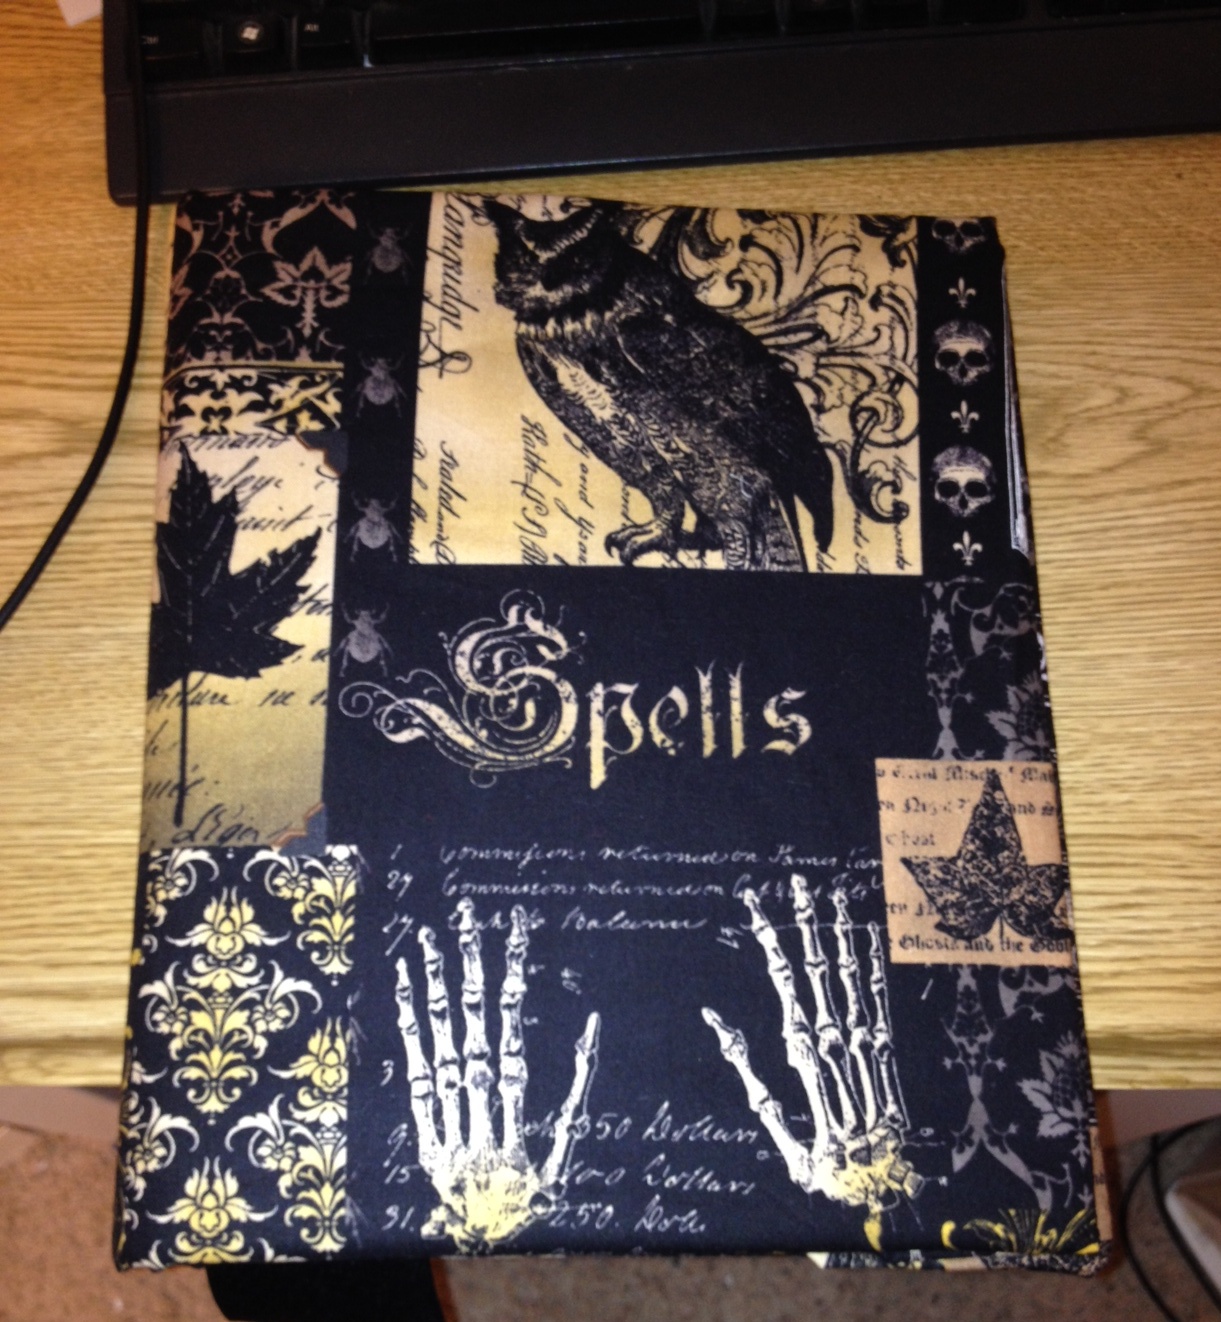 I positioned the fabric to make an interesting design on the front. The skeletal hands and “Spells” really speak to me. 🙂
I was going to completely cover the inside with fabric too, but when I looked at it wrapped around like this, I liked the natural look of the cotton batting as contrast. Besides, the planner sits on top of it, covering it all anyway. So I saved myself trying to figure out how to make the inside look nice without having raveling edges to worry about.
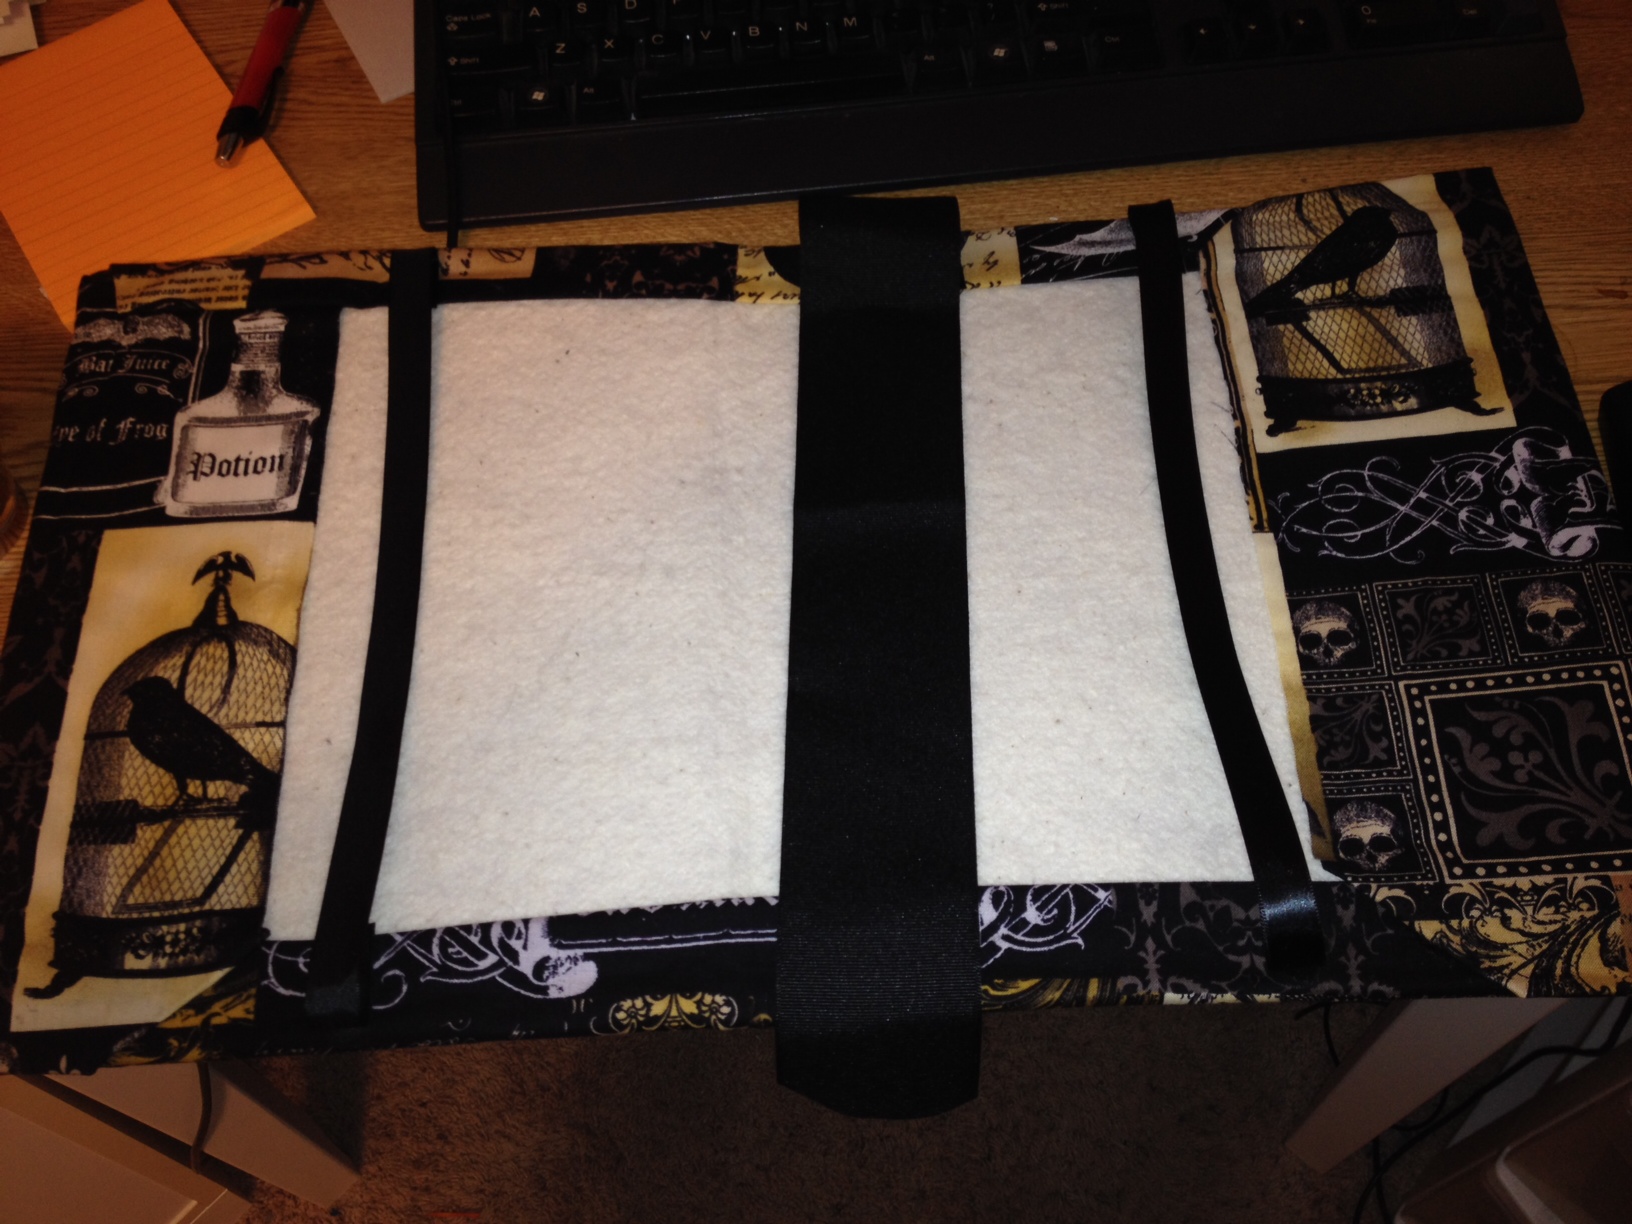 The next step was to glue some ribbons inside. I positioned thin ribbons on either sleeve to hold the front and back pages of the planner in place. I glued them in two different sessions to make sure they didn’t get stuck accidentally in a position I didn’t want. I also had a piece of thick black ribbon leftover from my RT costume that made a striking bookmark.
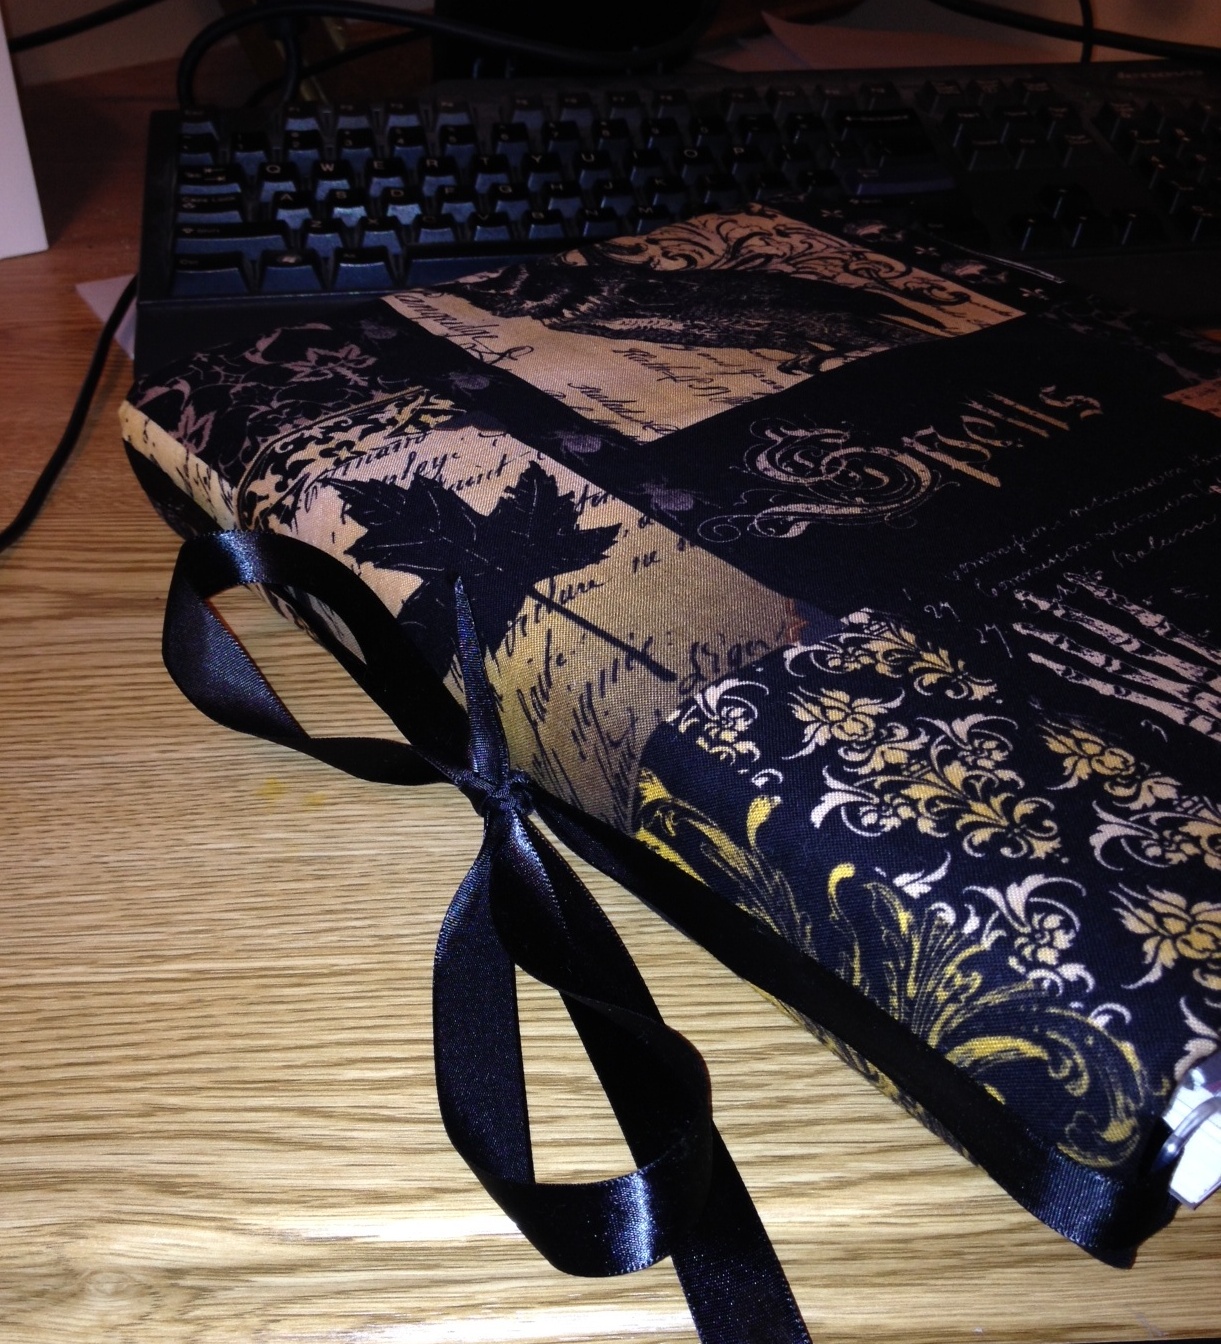 The front and back pages of the planner aren’t really sturdy enough to hold it in place and it kept slipping a bit. So I took another length of thinner ribbon and ran it through the spiral of the planner, then around the outside of the binder. I tacked the top and bottom down with glue to hold it in place and tied a big bow on the spine.
 I was pretty pleased with how it was looking! Only the pages inside were still a little boring. I wanted something really pretty and creative to inspire me on the inside too.
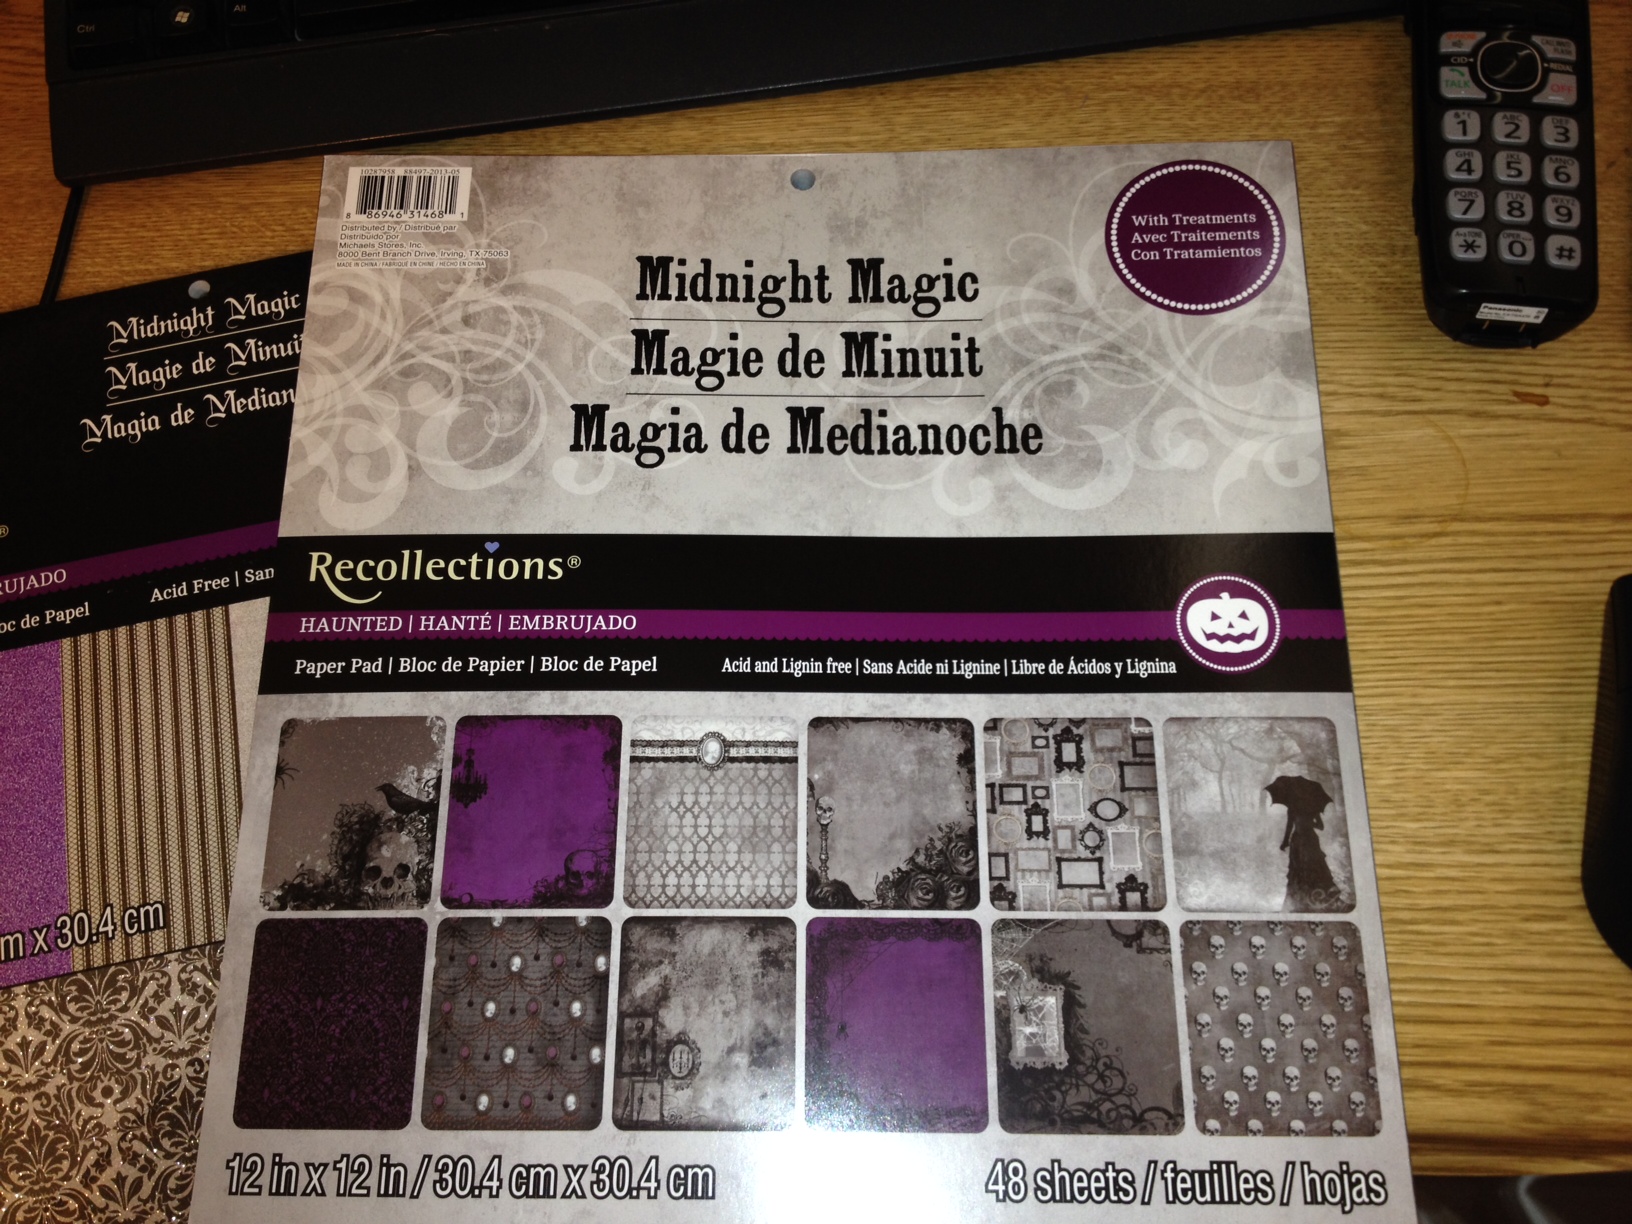
Lo and behold, I found the perfect paper on the clearance shelf at Michael’s. I mean, look at those skulls and ravens! The only thing that could have been better was if there were some red pages too. But the antique-looking purple is still nice and worked well with the grunge theme. I used the glue pen that came with my Smash journal (that I still haven’t done anything with) to glue most of the papers into place.
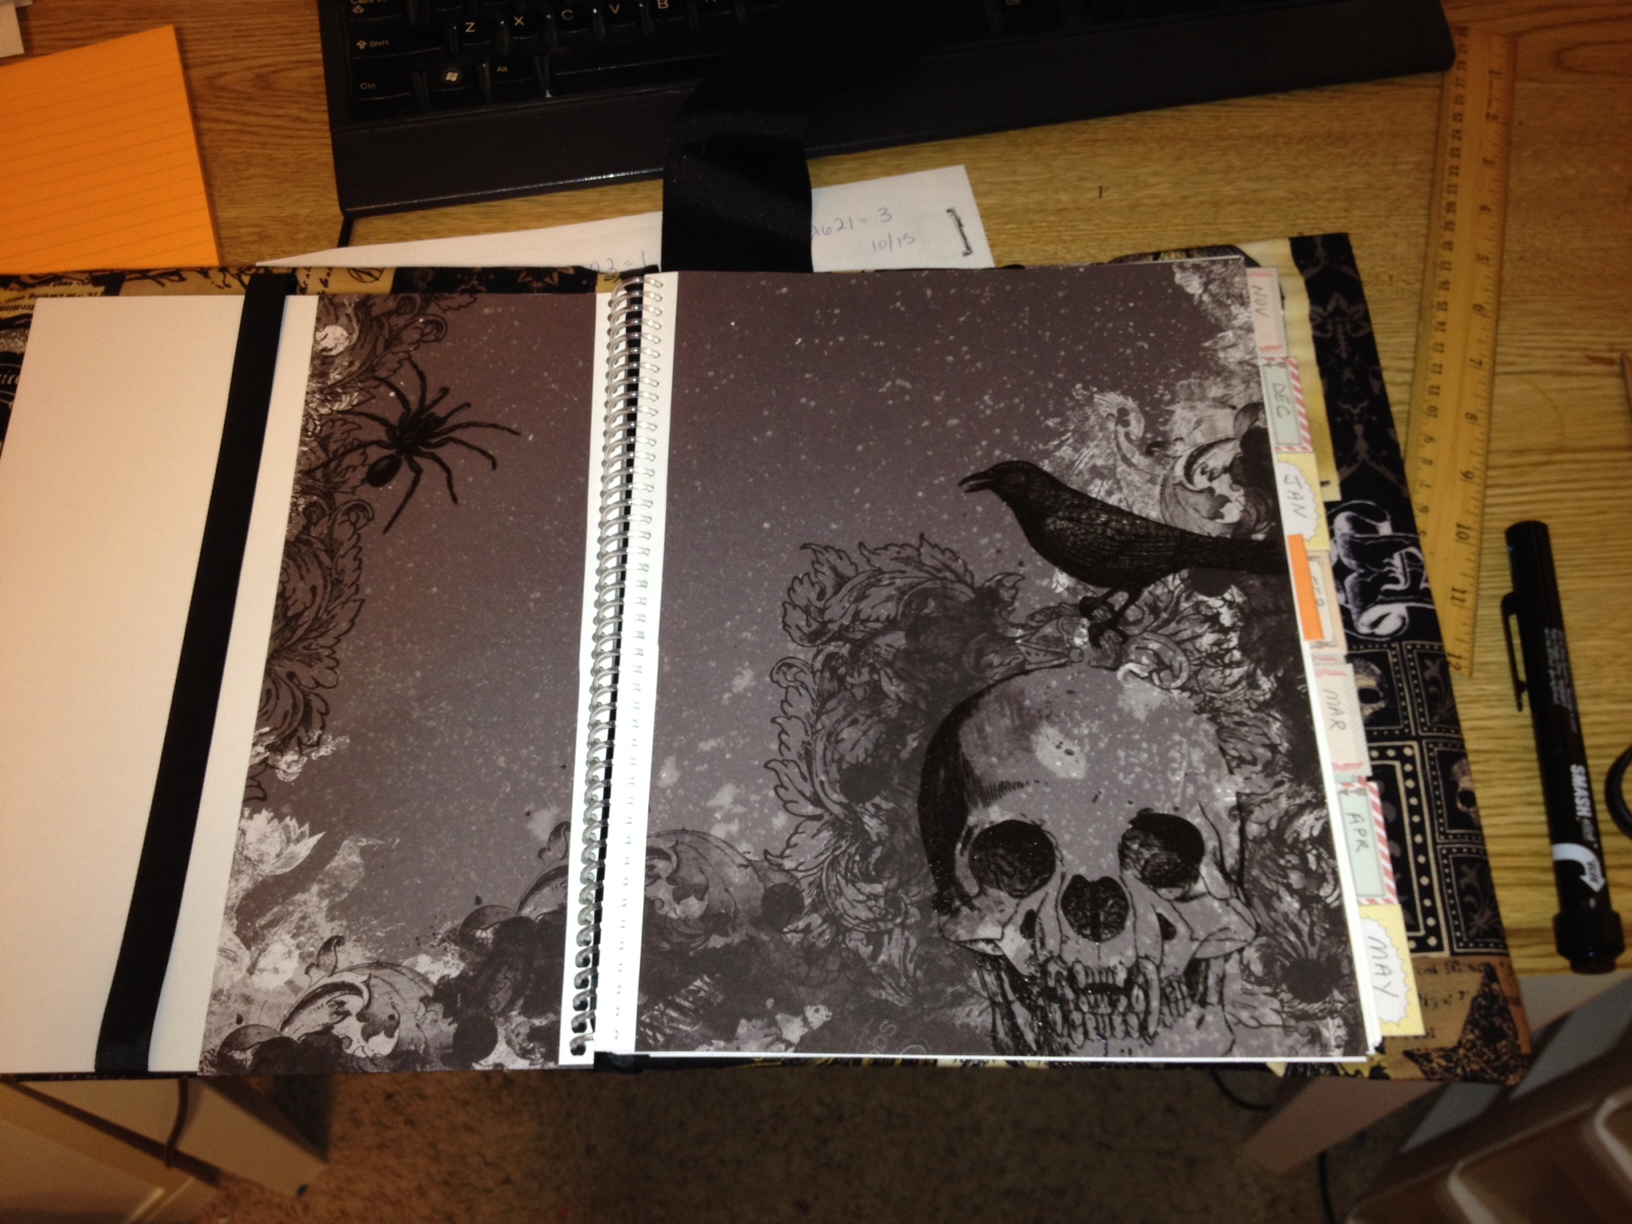
 I had to cut down the large scrapbook paper to fit inside the 8.5×11 planner, but I repurposed the side I cut off on the opposite page anyway. It makes some of the pages kind of thick, but that’s okay. So far, I only added paper to the front and the leading pages for Oct. and Nov. I figured my mood may change around Christmas and I might want some different papers around the holiday.
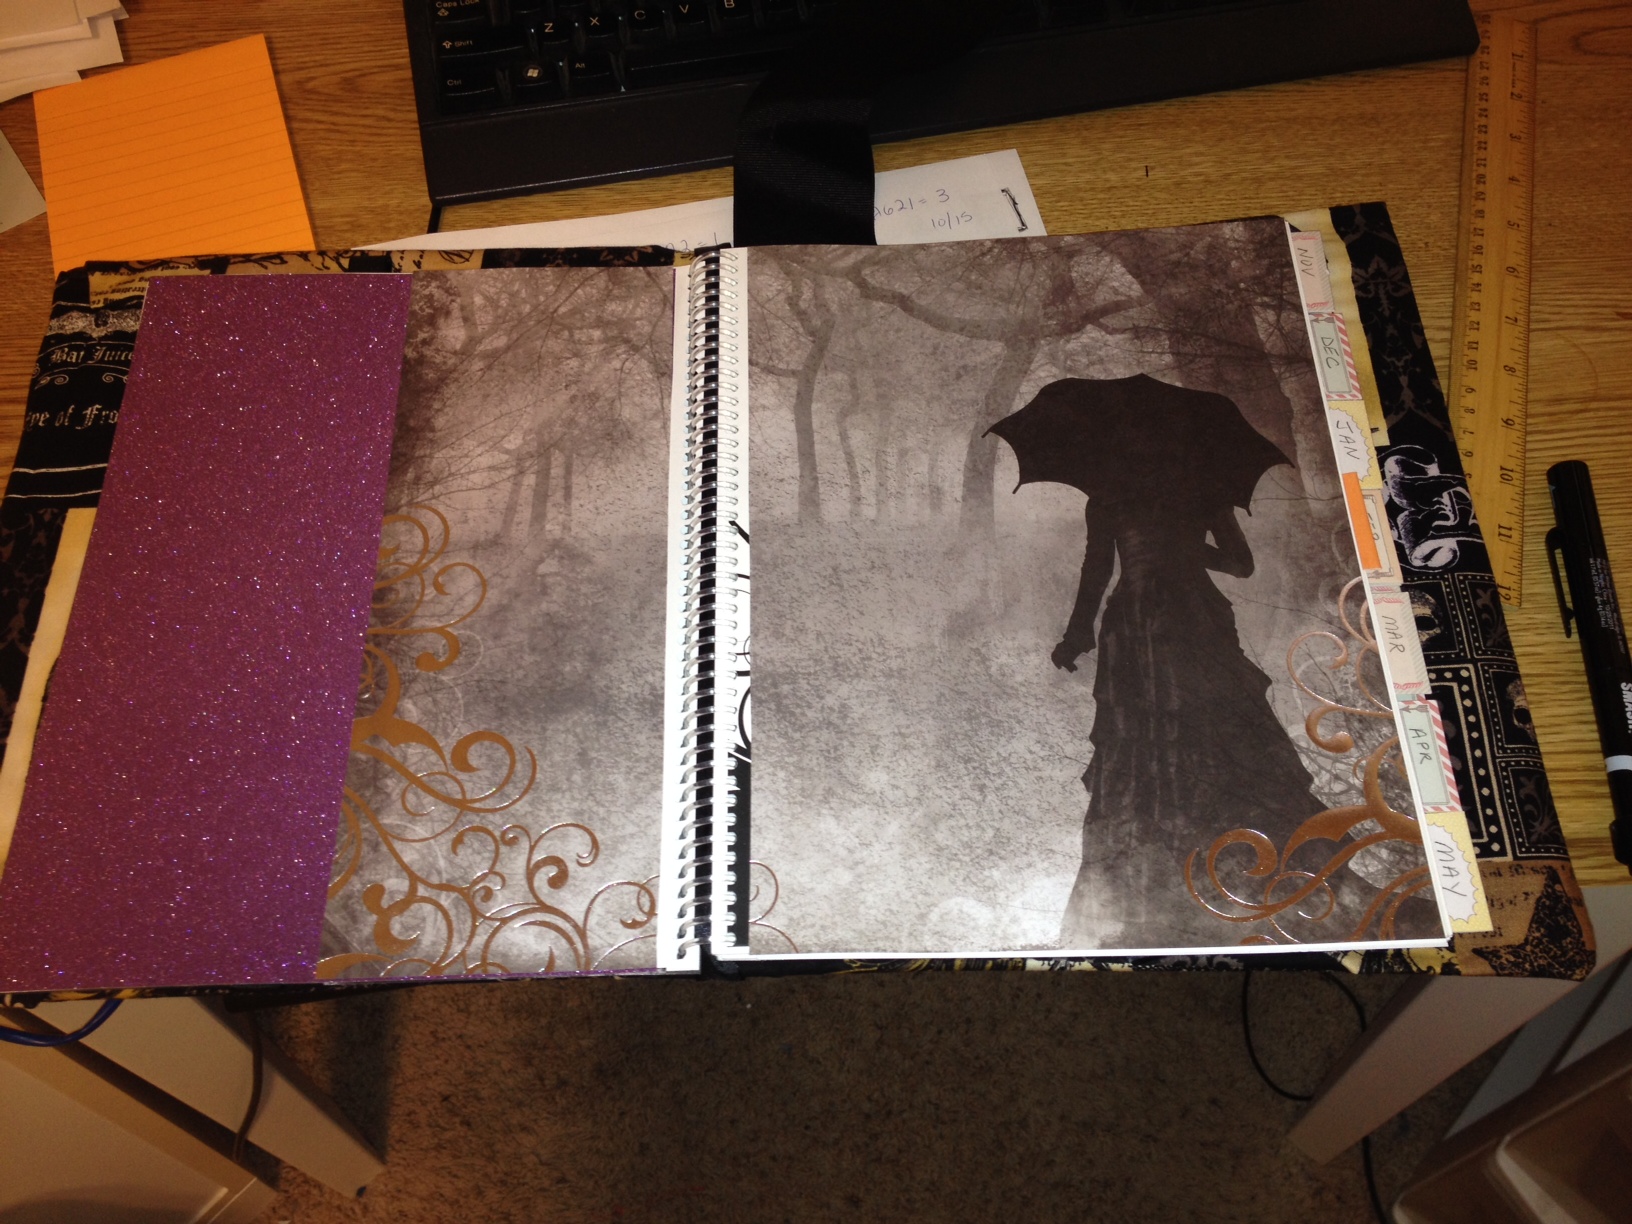
This purple paper is coated in some kind of glitter and the Smash glue pen didn’t work well. So I switched to Aleene’s glue just to get that side decorative paper glued on top to match the opposite side. (I didn’t want the runnier glue to bead up and wrinkle the paper.)
I’ve had a lot of fun with it and have definitely been inspired to try and make more crafty things for Story. I certainly have enough cool paper on hand to try a few more things!
Holy Freakin’ Awesome!!
You’ve inspired me to fix up mine. I probably have some great paper I could use inside but will have to find some fabric. Damn, but I’m going shopping.
Looks great! How fun.
[…] Then. Then Joely posted what she did to her planner! […]